
Lightsaber v5
https://github.com/dragonlock2/kicadboards/tree/main/projects/lightsaber https://github.com/dragonlock2/miscboards/tree/main/avr/lightsaber
This project has certainly been a long time coming with work actually starting over a year ago. I just finally found time to finish it. This is finally a design that is easily reproducible and also the first time I really understood all aspects of the design down to the fundamentals. As always, my additional challenge was to not buy any more parts than what I already had available.
hardware
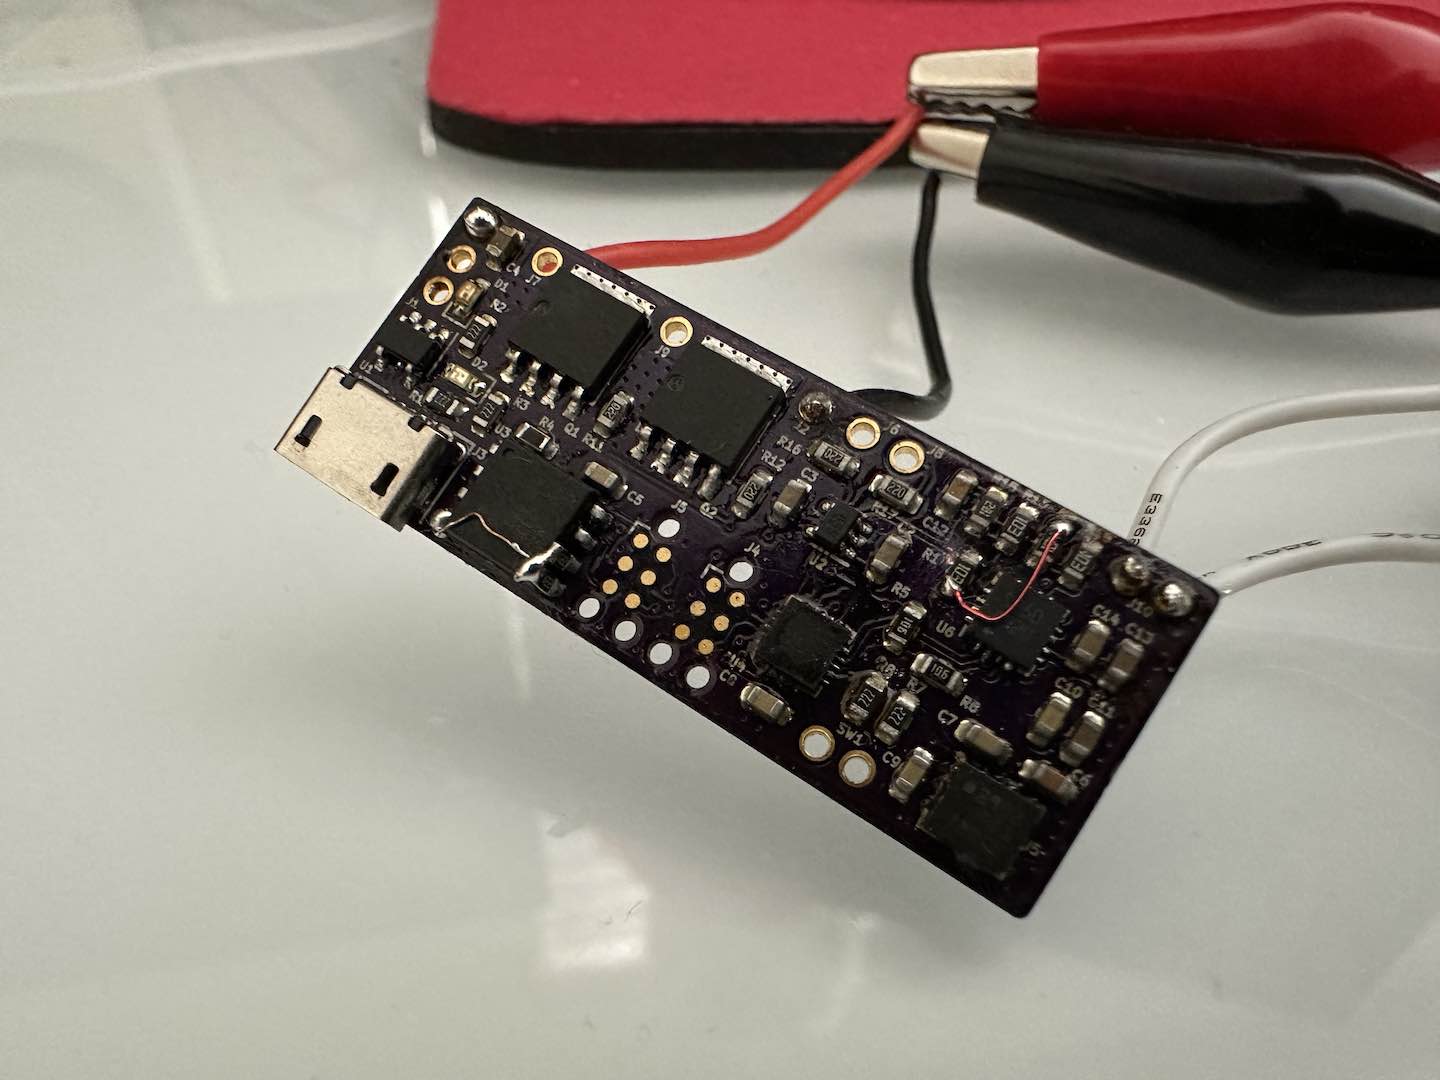
As usual, the hardware design was relatively straightforward with some interesting caveats. To minimize sleep current, all peripherals can be turned off with power controlled by the ATtiny1616. The fun part was using the motor driver STSPIN250 as a speaker driver. Class D amplifiers are usually built this way but with an LC filter tuned for high impedance at the carrier frequency to improve efficiency. Considering the LED strip would draw several amps, I ended up not having an LC filter. Audio quality (after switching away from the awful LCSC speakers to one salvaged from a laptop) was surprisingly good even with a 25kHz carrier.
The first mistake I made with the hardware design was not adding voltage dividers to the QSPI flash input. The ATtiny1616 runs at 4.2V while the QSPI flash runs at 3.3V which definitely exceeds its limit. My jank fix was to add pull-down resistors to the ATtiny1616’s outputs so that a high voltage was around 3.6V instead. I’m still within the package current limit so I should be safe. The second mistake I made was not soft starting the WS2812B connection which has a surprisingly high inrush current. Increasing the series resistor to 1MΩ ended up working. I also made a mistake with the STSPIN250 pinout but thankfully that was fixable by cutting some traces and some soldering.
firmware
I actually worked on the firmware first on a dev board to check that my hardware architecture would be viable. Getting CMake set up for the ATtiny1616 and ATtiny817 was a huge pain due to lack of support in the normal Homebrew installation. I had to copy a bunch of files and even build avr-gcc to get the right files to make everything work. The I2C driver, bit-banged WS2812B driver, animation system, and power management were all relatively straightforward. I even had a decently clever UI using just one button for everything. Surprisingly, I was able to run everything at 50Hz with some extra compute to spare so I was set.
The audio was my biggest worry with the first step being file storage. I initially tried implementing the SD SPI protocol and was successful but it became quite clear that there would be a lot of overhead. Since the SPI protocol to access QSPI flash allows me to stream contiguous blocks of memory with basically no overhead, I went with that instead. I developed a very basic “filesystem” called LightFS to store multiple fonts. The implementation involved reading one byte from SPI and writing it to PWM at 25kHz. I still need to work out the audio popping when transitioning between audio files, but overall it was quite the success.
mechanics
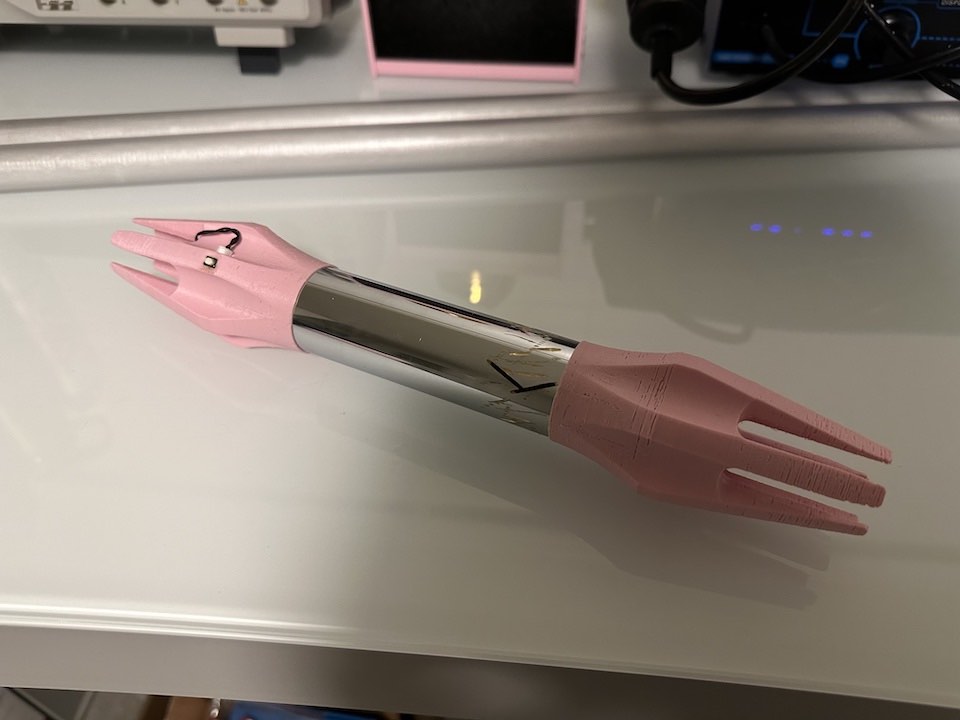
The first part of the mechanics was the blade and socket design. Taking inspiration from the community, I had one board with many pogo pins and another with pads. By using concentric rings, blade rotation doesn’t matter.
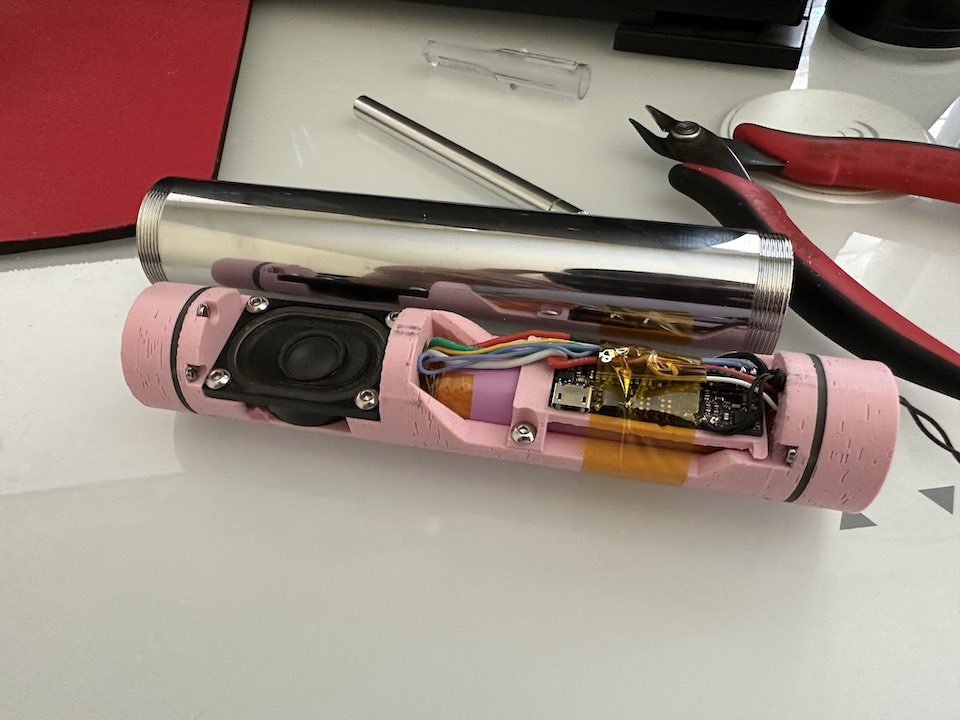
The next step was the external design which took inspiration from Exar Kun’s double-bladed lightsaber. Since a 6” tube was too short, I had to extend the blade socket area about 20mm past the end of the tube. It’ll definitely need to be 3D printed from metal if I ever want to fight. With the blades in the way, I had to tastefully cut slots in the casing to let the sound out.
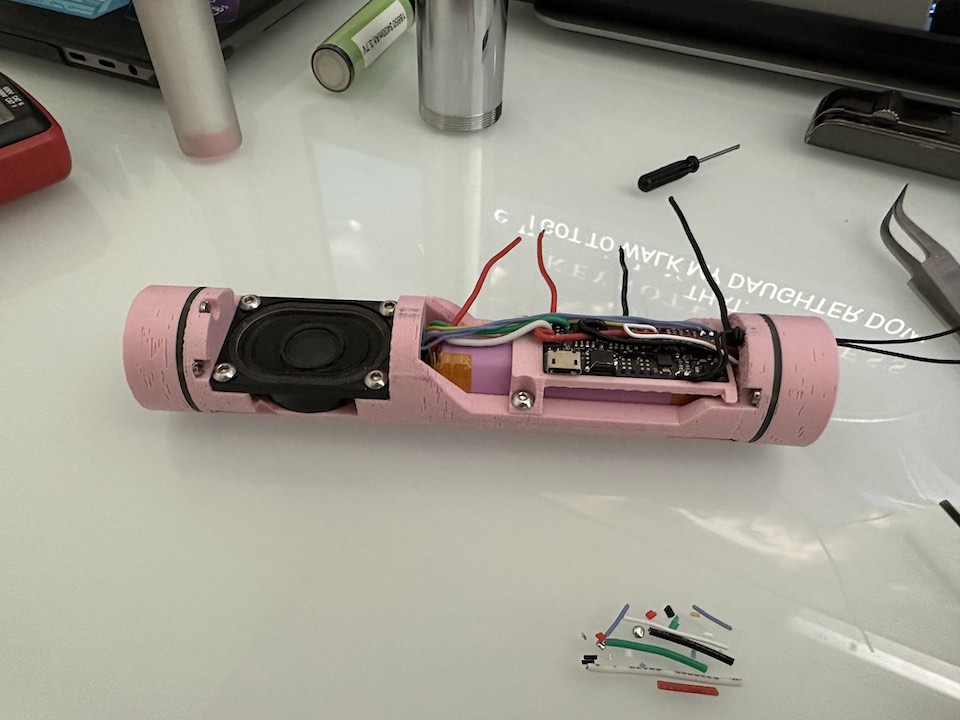
The final part was the internal chassis that held all of the electronics. I took a cylinder and cut out all of the spaces for the parts and cable routing. Since I need this design to be repairable and the charge port is inside the chassis, I made sure to keep things neat. To avoid further holes in the metal casing, I mounted the control switch to one of the sockets and made it disconnectable.
Overall the project was a success!
Comments