
keyboard
https://github.com/dragonlock2/kicadboards/tree/main/projects/keyboard https://github.com/dragonlock2/miscboards/tree/main/avr/sleepManager https://github.com/dragonlock2/miscboards/tree/main/pi_pico/keyboard
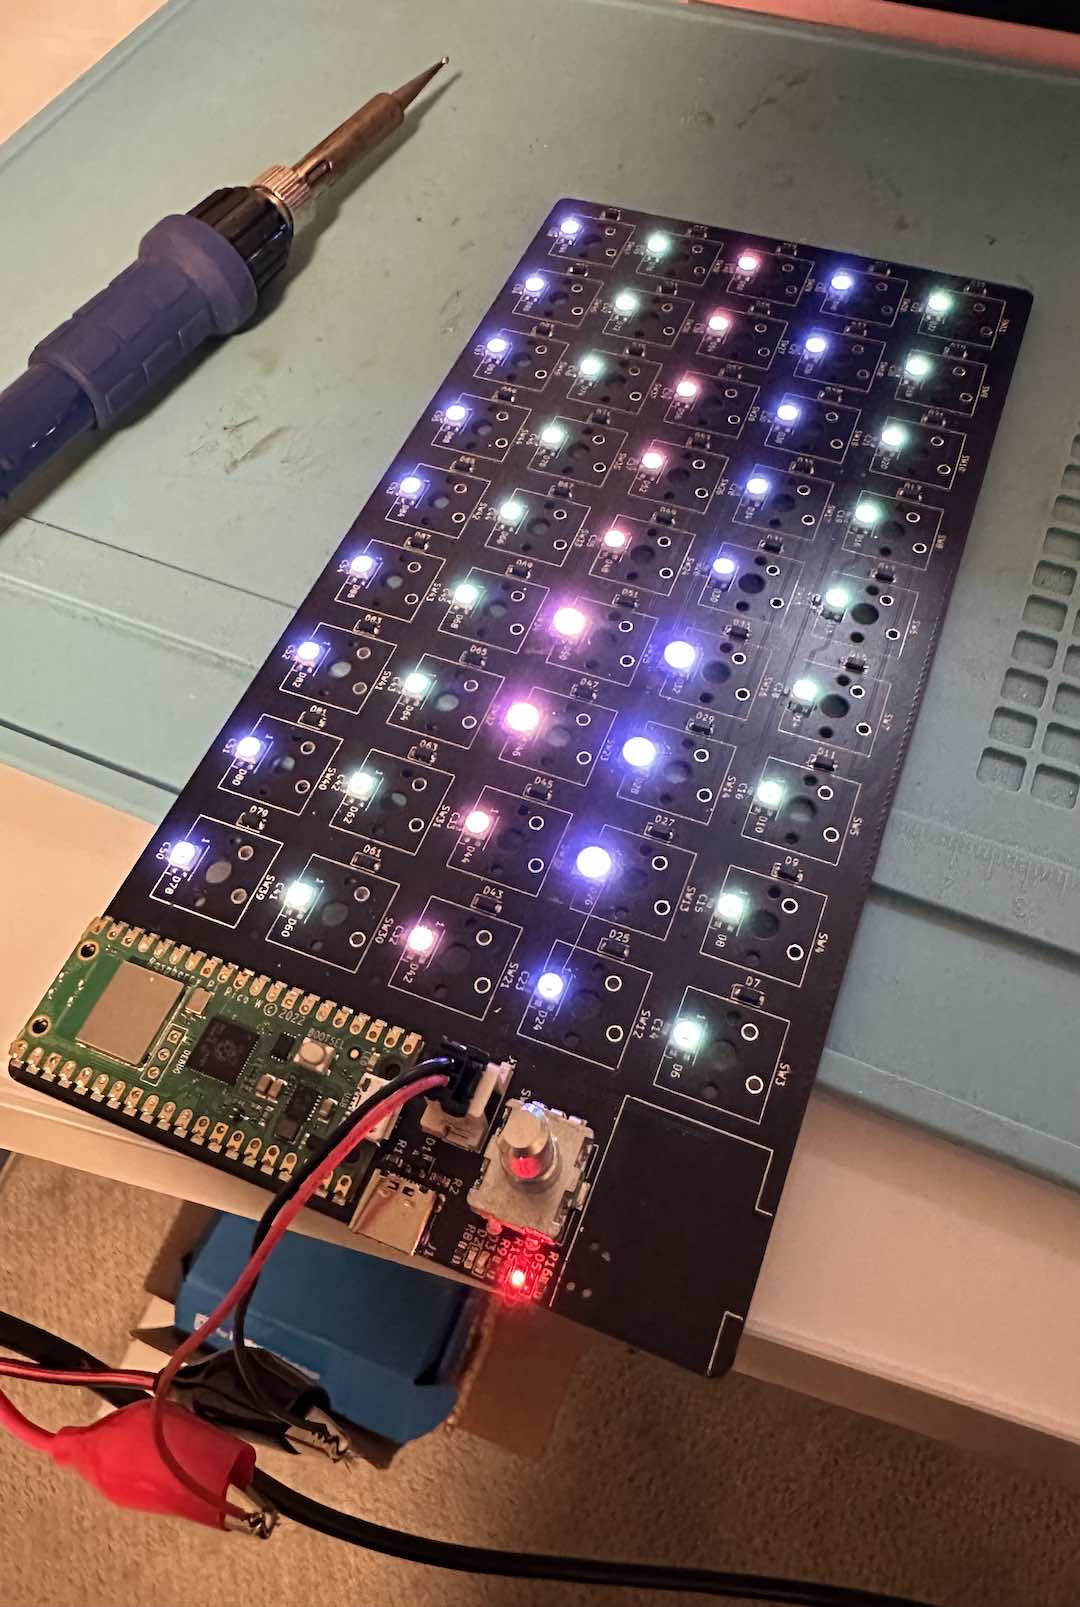
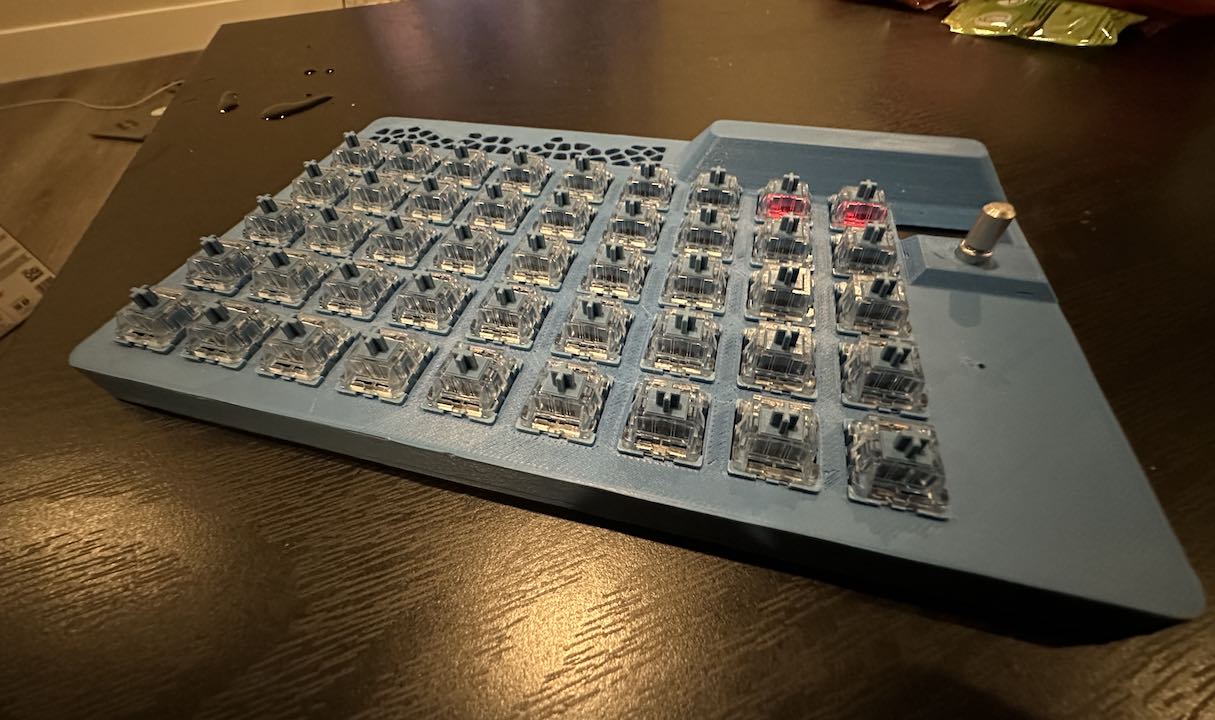
Since BLE support in the Pi Pico SDK was recently added and I had a cheap 45-pack of mechanical switches, I decided to make a keyboard with it. With 45 keys, it’s more of a keypad or macropad, but I digress.
hardware
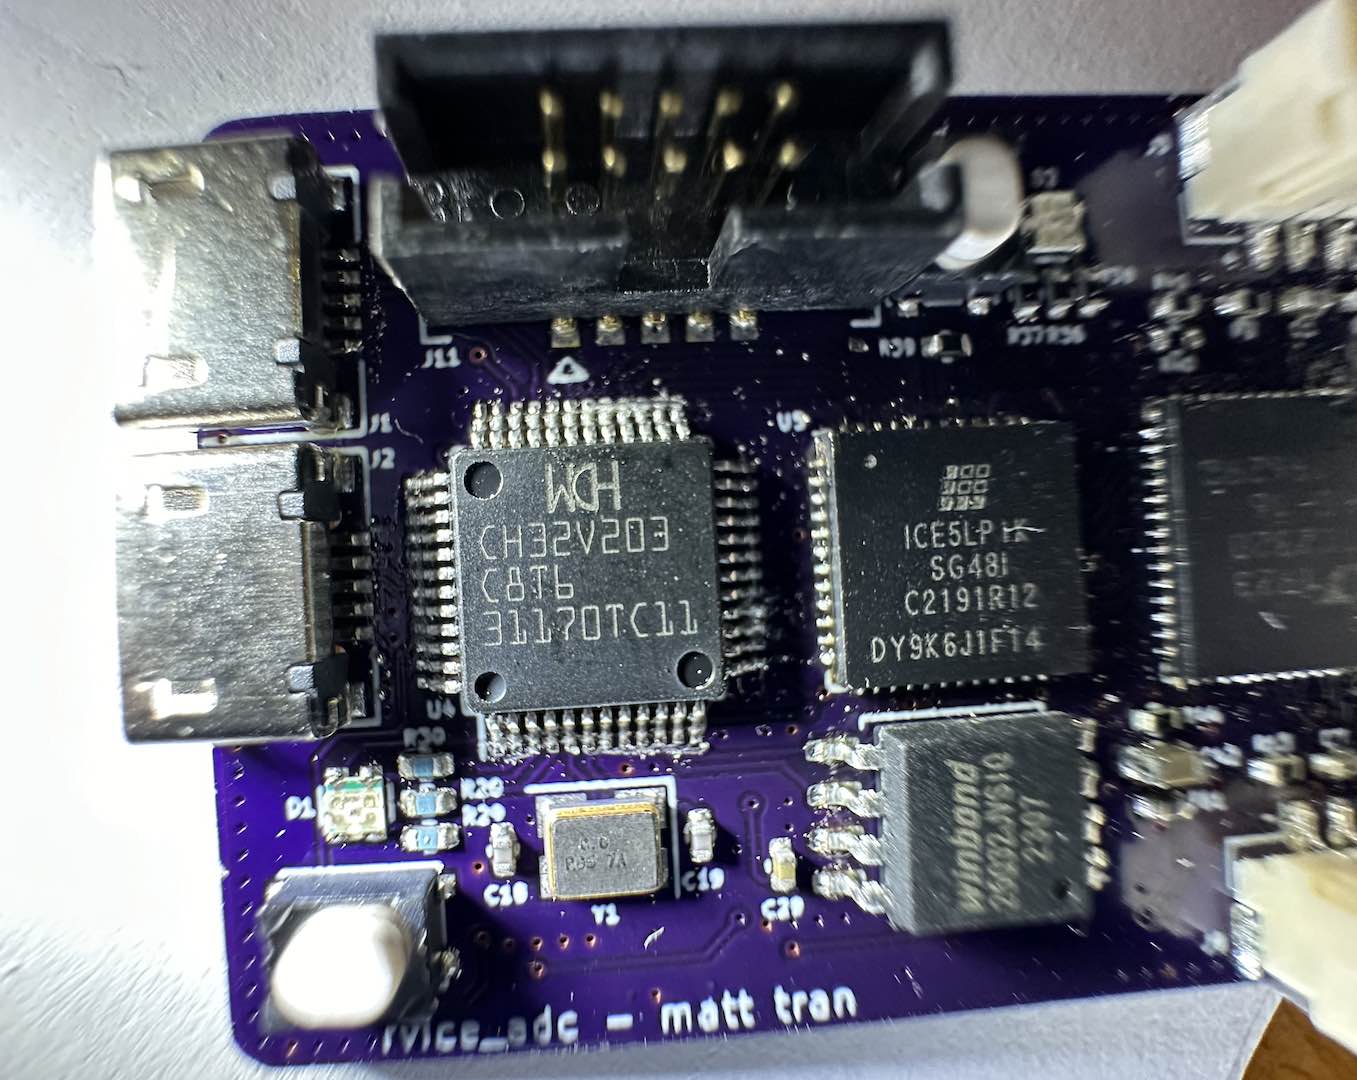
The hardware design was overall pretty simple with a lot of schematic reuse from prior projects. The Pi Pico W is very straightforward to work with since the pin choice is so flexible. One mistake I made was not using consecutive pins for the WS2812B outputs which meant I needed more PIO state machines in the firmware. To have low quiescent draw but also an inactive sleep timeout, I used an ATtiny to act as a soft switch. It controls a high-side NMOS with a charge pump driver. Since there’s no battery protection circuitry, I at least added battery voltage monitoring.
The WS2812B-Mini were a huge pain to work with since they kept breaking in the oven or with external heat applied. I eventually had to salvage the larger WS2812B from a leftover strip I had and fit them onto the smaller footprint while also squeezing underneath the mechanical switch.
firmware
Starting with the firmware on the ATtiny, it was relatively straightforward. Probably because the Homebrew version needs updating, I keep running into linker script issues where the regions aren’t placed correctly. I originally wanted to add a watchdog for the Pi Pico to pet but ended up just having the Pi Pico signal back to the ATtiny when it wants to sleep.
For the Pi Pico, working with the SDK was pretty nice. The CMake based build system fit in nicely with how I tend to do baremetal and Zephyr development. USB debugging was convenient with stdout piped over USB while the USB HID devices remained working. Had I put in the effort, I could have also programmed over USB without needing to hold the BOOTSEL button and power cycle. It was also my first time since Arduino using C++ in a project. I didn’t end up using many C++ features, mostly just using classes to build abstractions.
The WS2812B support was done using the PIO and I basically just used a slightly modified version of the standard implementation. Since I put the output pins on non-consecutive pins, I had to use a PIO state machine for each.
Implementing the encoder was far more complicated than I initially thought. Since I used a mechanical encoder there was a significant amount of noise that required debouncing. I eventually learned that using a Gray code and a state machine to decode worked best. However, it also required a high sample rate so I used a PIO state machine to handle it. As my first real PIO program, I learned a lot about the limitations and features of the PIO instruction set. To reduce bandwidth needed, I only pushed samples to be processed if any pins changed. With 2 pins sampled, we can fit 16 samples into each 32-bit word of the FIFO. To be responsive, I also forced the state machine to flush current readings every time I wanted to process the encoder.
BLE support was a huge pain especially since I wasn’t sure what was a bug in my code or in the BTstack port. One huge issue was that the asynchronous task handling BTstack things would end up running on the other core and somehow hang the entire program. I had to switch to a single core program because of this but thankfully I had more than enough extra performance to keep things responsive. Eventually after wading through poor documentation and much code, I had something working and was able to send all of the HID over GATT reports I wanted. BLE pairing was unreliable and didn’t work at all on macOS, but once I update the SDK it’ll probably work.
USB support was far easier and mainly involved getting the HID descriptors set up correctly. TinyUSB is pretty well documented. Unlike BLE, I even got the LED report working. One interesting thing was how macOS, Windows, and Linux handled media controls differently. In order for the encoder ticks to match up with volume I needed to ensure at least one HID report with the key pressed was sent before unpressing it. I also did this for BLE.
The SSD1306 driver was relatively straightforward as I copied my previous implementation. I even used DMA again which was quite awesome. Interestingly, I was able to push it to 3MHz I2C.
The keyboard matrix algorithm was pretty standard with my own twist for the debouncing. In order to register presses immediately, I would register the initial state change and not register future changes for a short debounce period. This would ignore any bounces but also remain responsive.
On top of all of these low-level drivers, I built the macro system and GUI. Those aren’t as great so I won’t go into much detail. There’s definitely a lot more room for customization.
Comments